
Android Service AIDL Demo Run
接上面的CVTE电话面试,这是Android部分问题之一:activity调用service&&进程间的通信
Activity调用Service分为两种方式,一种是本地服务,一种是远程服务。本地服务的启动方式有两种,见Android官方文档介绍如下: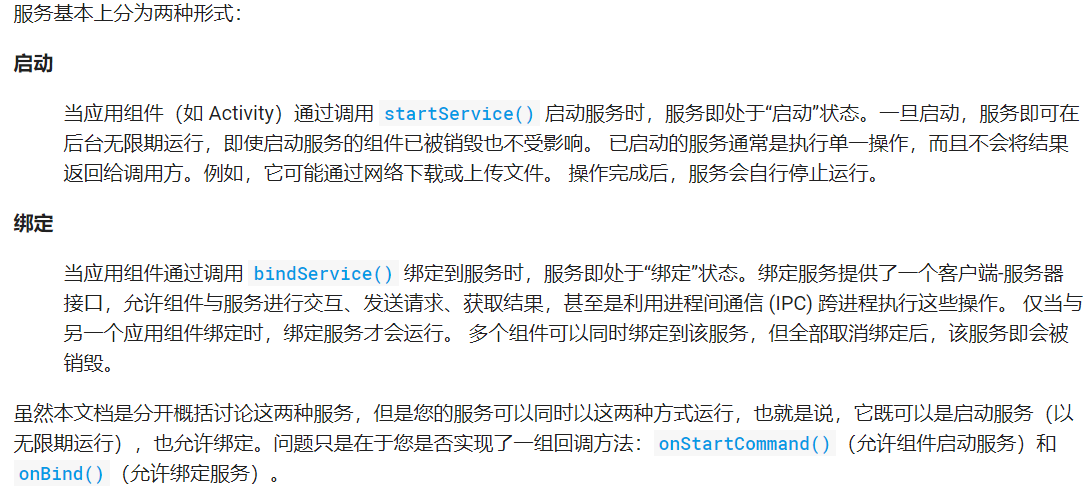
本例中使用的是绑定方式。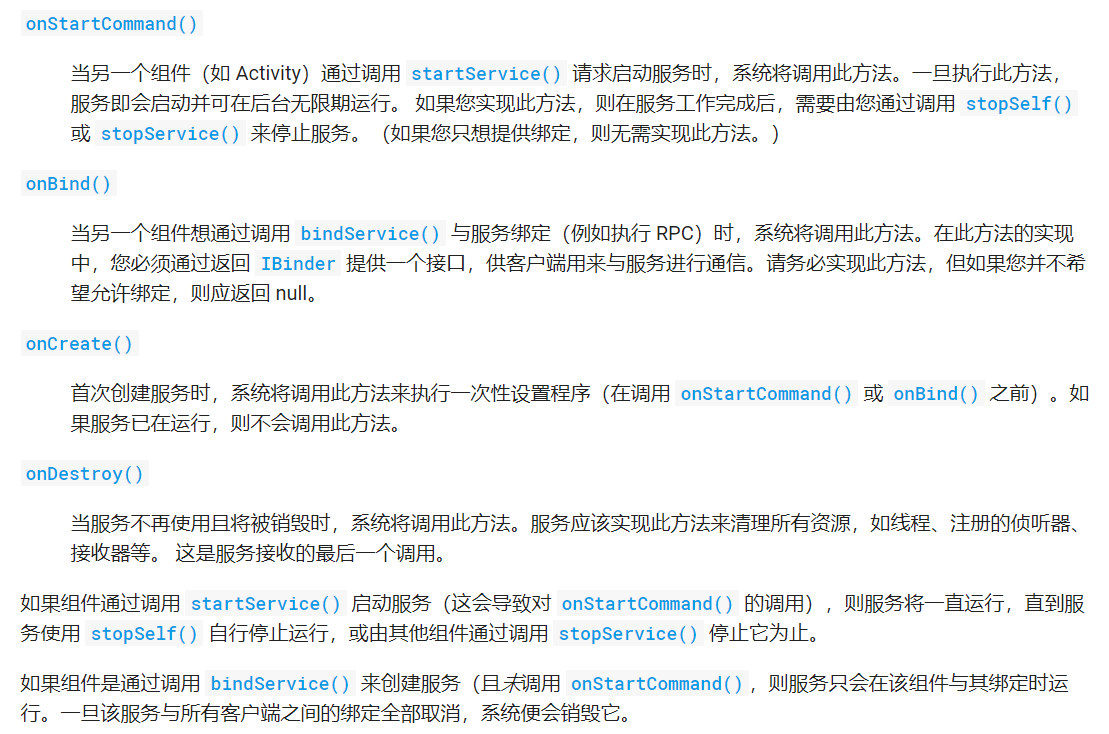
而我们往往采用的是远程服务——AIDL(Android Interface Definition Language),Android接口自定义语言,它可以用于让某个Service与多个应用程序组件之间进行跨进程通信,从而可以实现多个应用程序共享同一个Service的功能。实际上实现跨进程之间通信的有很多,
比如广播,Content Provider,但是AIDL的优势在于速度快(系统底层直接是共享内存),性能稳,效率高,一般进程间通信就用它。
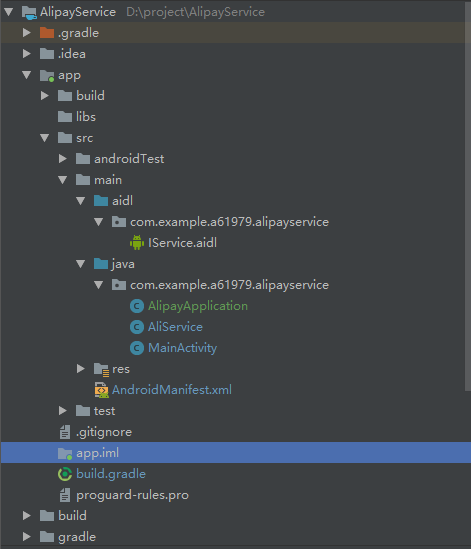
既然是跨进程,那必须的有两个应用,一个是service端,一个是client端,然后实现客户端从服务端获取数据。那么我们创建一个服务端,项目结构如图所示:
我们首先右键创建一个aidl文件夹,然后在该文件夹下右键新建一个aidl文件,如图: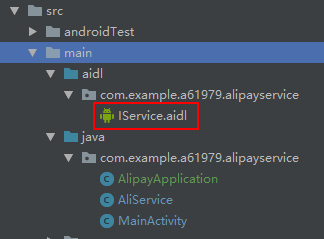
代码如下:1
2
3
4
5
6
7
8
9// IService.aidl
package com.example.a61979.alipayservice;
// Declare any non-default types here with import statements
interface IService {
int callSafepay(String username, String password, float money, long timestamp);
}
接着写AliService的代码,注意IService.Stub是bulid完后生成的aidl.java文件。MyBinder继承IService.Stub接口后,实现callsafepay方法,然后调用safepay方法,这是仿支付宝支付接口的方法。代码如下:1
2
3
4
5
6
7
8
9
10
11
12
13
14
15
16
17
18
19
20
21
22
23
24
25
26
27
28
29
30
31
32
33
34
35
36
37
38
39
40
41
42
43
44
45
46
47
48
49
50
51
52
53
54
55
56
57
58
59
60
61
62
63
64
65
66
67package com.example.a61979.alipayservice;
import android.app.Service;
import android.content.Intent;
import android.os.IBinder;
import android.os.RemoteException;
public class AliService extends Service {
public AliService() {
}
public IBinder onBind(Intent intent) {
return new MyBinder();
}
public void onCreate() {
System.out.println("支付宝服务被创建了");
super.onCreate();
}
public void onDestroy() {
System.out.println("支付宝服务被销毁了");
super.onDestroy();
}
private class MyBinder extends IService.Stub {
public int callSafepay(String username, String password, float money, long timestamp) throws RemoteException {
return safepay(username, password,money, timestamp);
}
}
/**
* 安全支付的服务方法
* @param username
* 用户名
* @param password
* 密码
* @param money
* 钱
* @param timestamp
* 时间戳
* @return
*/
public int safepay(String username, String password, float money, long timestamp){
System.out.println("加密的username");
System.out.println("加密的password");
System.out.println("提交数据到支付宝的服务器");
if(money>5000){
return 505;
}
if("zhangsan".equals(username)&&"123".equals(password))
{
return 200;
}
else
{
return 300;
}
}
}
然后,开始写客户端代码,新建一个Android Studio项目,以实现两个进程间的通信。客户端代码结构如下: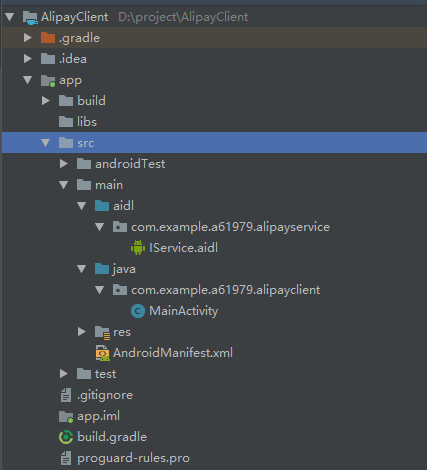
然后,我们回到Service端,把整个aidl文件夹的内容原封不动的复制到AlipayClient下,接着,我们开始写MainActivity的内容。代码如下:1
2
3
4
5
6
7
8
9
10
11
12
13
14
15
16
17
18
19
20
21
22
23
24
25
26
27
28
29
30
31
32
33
34
35
36
37
38
39
40
41
42
43
44
45
46
47
48
49
50
51
52
53
54
55
56
57
58
59
60
61
62
63
64
65
66package com.example.a61979.alipayclient;
import android.content.ComponentName;
import android.content.Intent;
import android.content.ServiceConnection;
import android.os.Bundle;
import android.os.IBinder;
import android.os.RemoteException;
import android.support.v7.app.AppCompatActivity;
import android.util.Log;
import android.view.View;
import android.widget.Button;
import com.example.a61979.alipayservice.IService;
public class MainActivity extends AppCompatActivity {
private Button bt_connect;
private Button bt_disconnect;
private ServiceConnection conn=new ServiceConnection() {
public void onServiceConnected(ComponentName componentName, IBinder iBinder) {
try {
Mybinder = IService.Stub.asInterface(iBinder);
Mybinder.callSafepay("VirgilG72","123456",300,123456789);
} catch (RemoteException e) {
e.printStackTrace();
}
}
public void onServiceDisconnected(ComponentName componentName) {
Mybinder=null;
Log.e("1","无法连接服务");
}
};
private IService Mybinder;
protected void onCreate(Bundle savedInstanceState) {
super.onCreate(savedInstanceState);
setContentView(R.layout.activity_main);
bt_connect = (Button) findViewById(R.id.button);
bt_disconnect = (Button) findViewById(R.id.button2);
bt_connect.setOnClickListener(new View.OnClickListener() {
public void onClick(View view) {
Intent intent = new Intent();
intent.setAction("com.example.a61979.alipayservice.AliService");
intent.setPackage("com.example.a61979.alipayservice");
bindService(intent,conn,BIND_AUTO_CREATE);
}
});
bt_disconnect.setOnClickListener(new View.OnClickListener() {
public void onClick(View view) {
unbindService(conn);
Log.e("1","成功解绑服务");
}
});
}
}
这段代码关键点在这三点
- Mybinder = IService.Stub.asInterface(iBinder); //asInterface是根据调用是否是同一个进程而返回不同的实例对象
intent.setAction(“com.example.a61979.alipayservice.AliService”);
intent.setPackage(“com.example.a61979.alipayservice”);这两行代码从何而来?这就需要我们回到服务端的AndroidManifest文件下去设置相应的action和包名,代码如下:1
2
3
4
5
6
7
8
9
10
11
12
13
14
15
16
17
18
19
20
21
22
23
24
25
26
27
28
29
30
31
<manifest xmlns:android="http://schemas.android.com/apk/res/android"
package="com.example.a61979.alipayservice">
<application
android:name=".AlipayApplication"
android:allowBackup="true"
android:icon="@mipmap/ic_launcher"
android:label="@string/app_name"
android:roundIcon="@mipmap/ic_launcher_round"
android:supportsRtl="true"
android:theme="@style/AppTheme">
<activity android:name=".MainActivity">
<intent-filter>
<action android:name="android.intent.action.MAIN"/>
<category android:name="android.intent.category.LAUNCHER"/>
</intent-filter>
</activity>
<service
android:name=".AliService"
>
<intent-filter>
<action android:name="com.example.a61979.alipayservice.AliService"></action>
</intent-filter>
</service>
</application>
</manifest>bindService(intent,conn,BIND_AUTO_CREATE);
unbindService(conn);
这两行代码,我设置了两个点击事件去触发,activity_main如下:
1 |
|
最后,附上成功运行的图片:
ui: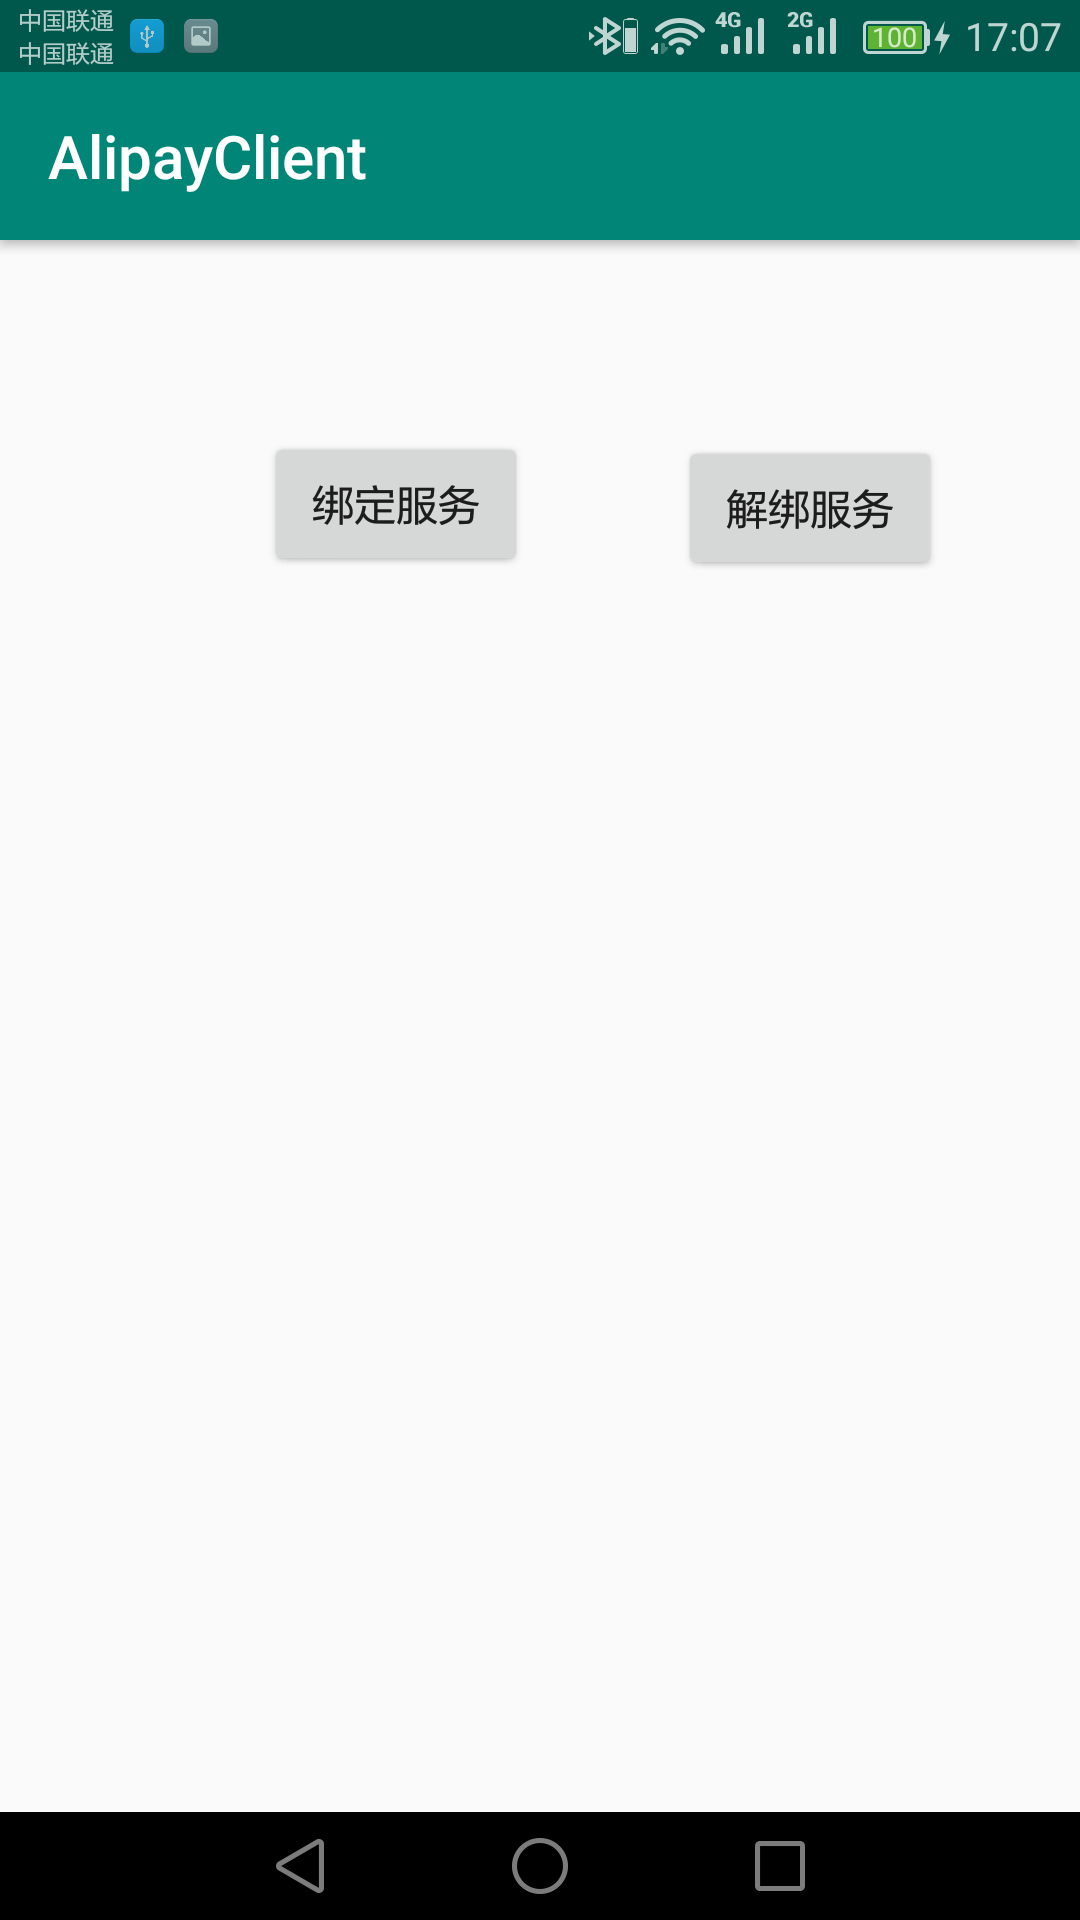
点击“绑定服务”后,日志消息如下:
点击“解绑服务”后,日志消息如下:
附上Github源代码:
客户端:https://github.com/VirgilG72/AlipayClient
服务端:https://github.com/VirgilG72/AlipayService